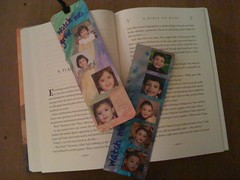
 The holiday season will soon be upon us and that means that my mailbox is sure to receive a number of holiday cards sending well wishes and news of the last year. Greeting cards are a great source of card stock for a variety of art projects. I reserved cards from last year and was recently wondering what I would do with them. My daughter's fall photos just came home from school the other day and this sparked an interesting idea. Every year I order my kids' school photos to share with the family and wind up with much more than I need. Although I am now opting to order downloadable images, I still have several years worth of wallets tucked in a shoebox in my closet. I've been waiting for a chance to use these photos and this week's RETROCRAFT project is that perfect opportunity. I gathered several years worth of school photos for each of my kids to make bookmarks that will depict a short history of their growth over the last 4 to 5 years. Watch Me Grow! bookmarks make creative practical gifts that grandparents, aunts, uncles and other family members will enjoy using at home or at work!
To make one bookmark, you'll need the following:
 A greeting card, blank, matte and unembossed on the inside cover
A scissor
Watercolors
Washcloth
A craft knife
A ruler
A craft mat or thick cardboard
Square or circle craft punch
4 or 5 photos
Tape
Glue
Cotton swabs
Two large, heavy books
Hole punch
Yarn or colored string, as desired
Marker
1. Start by separating the greeting card in half, along the fold, using a scissor. Retain the half with a blank, unembossed side. Recycle the other half. TIP: The larger the greeting card used, the larger the bookmark.
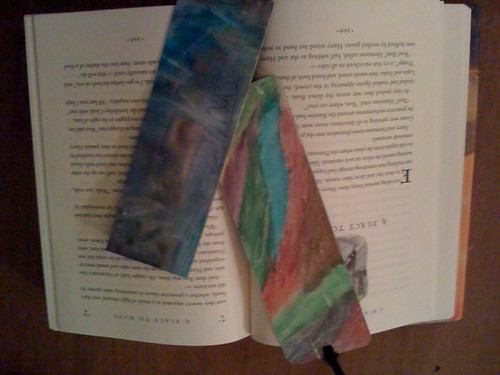
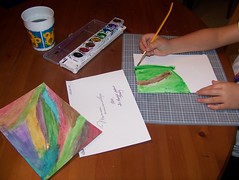 2. Lay the retained card half on a washcloth or craft mat, with the blank side up. Paint the card with watercolors, making any design and using any combination of colors you wish. Dry completely.
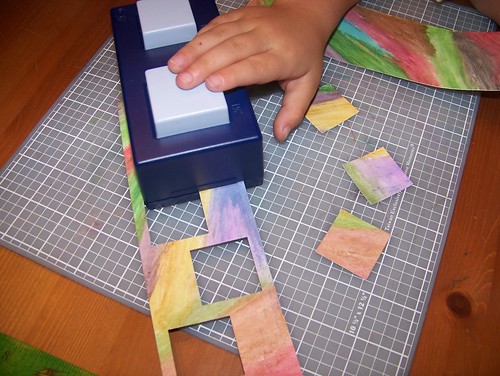 4. Use the craft punch to cut squares or circles into the remaining length. By doing this, you are making "windows" for your photos. Place the windows along the length wherever you desire and space as you wish. (If you don't have a craft punch, you can easily cut square windows using a ruler and craft knife.) Cut as many windows as images you would like to use, length permitting.
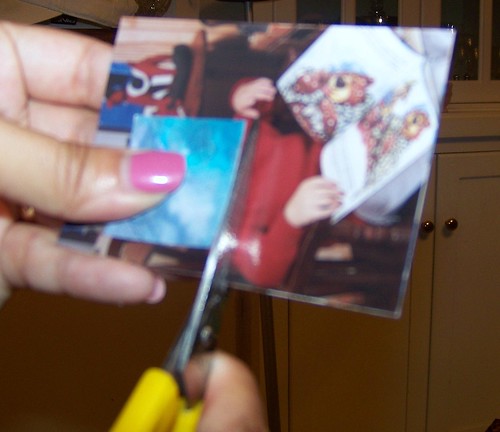 5. Cut the desired images from your photos using a scissor. The cutout should be slightly larger that the opening of your windows. (You can use one of the squares or circles you punched out in step 4 as a guide.) Remember that the images you use should be small enough to be seen through the windows. For this project, wallet size photos are perfect.
6. Lay the length, painted side down, on your work surface. Tape your photo cutouts into place, over the windows, image side down. For this project, you want to put the photos in age order. For my sample, I arranged the photos from top to bottom starting with the most recent to the oldest.
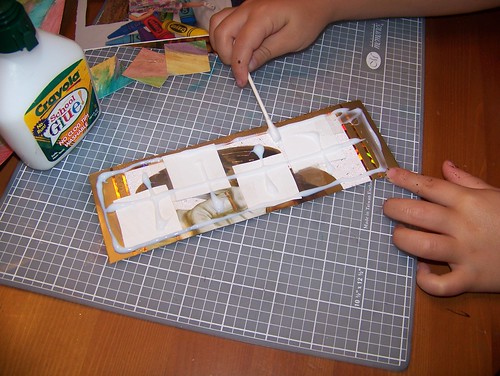
7. Move the length, painted side down, onto the lower half of your washcloth. Apply glue to the backside of the length. Use a cotton swab to spread a thin layer of glue over the entire backside, being sure to cover the edges and corners. Do not use too much glue! Remove excess glue with a cotton swab.
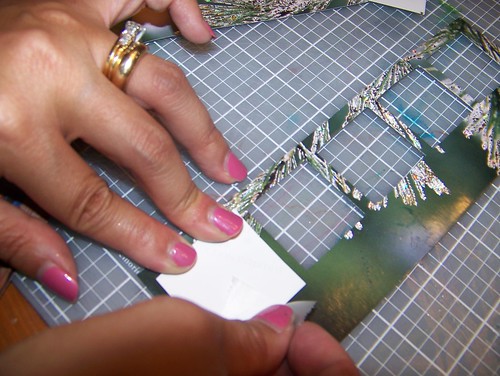
8. Now cover the glued length with the length you put aside in step 3, matching backside to backside and edge to edge. Smooth the lengths together to sure a complete bond. Glue may squeeze out from the edges. Use a cotton swab to remove excess glue.
9. Pull the top half of the washcloth over the bookmark and put the wrapped bookmark between two heavy books. (My daughter stood on the books while painting other cards.) The even weight helps ensure a good bond while the glue is drying.
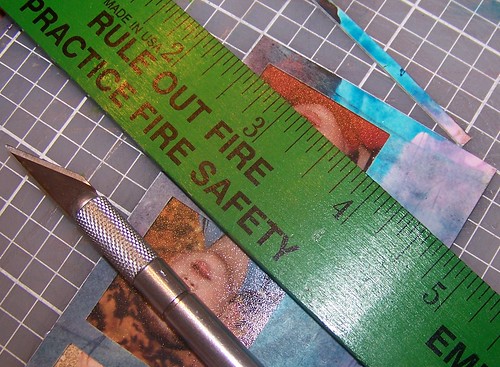 10. When the bookmark is completely set, use a ruler and craft knife to clean up any edges, particularly when the back and front lengths do not match up perfectly.
11. Using a marker, you can write the words "Watch Me Grow!" anywhere you would like on the bookmark. If you aren't fond of your writing, you can use alphabet stickers.
12. If desired, when the glue is dry, punch a hole at the top of bookmark, making sure to center it. (If you don't have a hole punch, you can cut a narrow slit using a craft knife.) Take several lengths of yarn or string and fold the lengths in half. Insert the folded ends through the hole at the top of the bookmark. Thread the loose ends of yarn through the loop created when the folded ends are passed through the hole. Gently pull the loose ends through the loop to loosely knot the yarn around the bookmark.
For a more finished look, you can laminate the bookmark after step 11. (You may need to skip step 12 since it may be difficult to punch or cut through the laminate.) You can also use a corner rounding photo punch if you want to round off the corners of your bookmark.
Other ideas: You can preserve interesting quotes from greeting cards as a bookmark. Instead of adding it to your recycling, you can paint and cut the portion of the card containing the quote and use it in lieu of the length that you would otherwise use to make your photo windows. You can also use this idea for other keepsake gifts. Use extra photos from your wedding to make bookmarks for your wedding party. Pictures of a newborn can be used to make a different kind of birth announcement. The possibilities of this craft are endless and depend only on your imagination. And, as long as you supervise some of the cutting and gluing, your kids can join in the fun. Happy crafting!
No comments:
Post a Comment