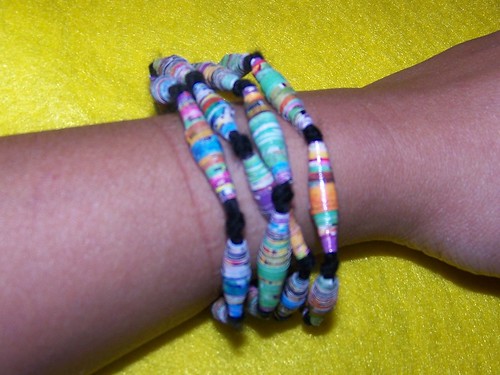
In my house, each of us has a magazine subscription or two. That makes for a lot of paper. Over time that's a lot of trees! Luckily, my neighborhood does recycle and I make sure that nearly all of the paper in my home finds its way to my recycling toter. But a lucky few get to live a new life as jewelry. What? Say that again? Jewelry? It's hard to picture I know. But once you learn this simple craft, you'll find that magazine jewelry beads are not only easy to make but fun to wear. It's a great gift idea for kids who want the real thing but are too young to be responsible with the real thing. And, because this is so easy to do, this is a perfect craft for the young ones in your family.
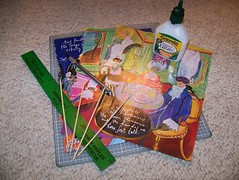 To get started, you will need:
 several sheets from a magazine
a craft mat or thick cardboard to work on
a ruler and a craft knife
school glue or a glue stick
Q-tips
several thin skewers, and
yarn or string
 1. Place your magazine sheet on a craft mat. (If you don't have a craft mat, use a thick cardboard to protect your working surface.) Using the ruler as a straight edge, use your craft knife to cut each magazine into strips in the shape of narrow, symmetrical triangles. (If you don't have a craft knife, you can use scissors.) The length of your bead will be determined by the width of your strip. The longer your strip, the fatter your bead will be. One strip makes one bead.
 2. Place a triangle strip on your craft mat with the point facing away from you. Starting 1 to 1 1/2 inches from bottom edge of the triangle strip, run a very thin line of glue along the length of the "wrong side" of the strip. (The wrong side is the side of the strip that will not be visible when making your bead.) Use a Q-tip to smooth the glue along the length of the strip. Be sure that you apply glue to the point. Do not use too much glue.
 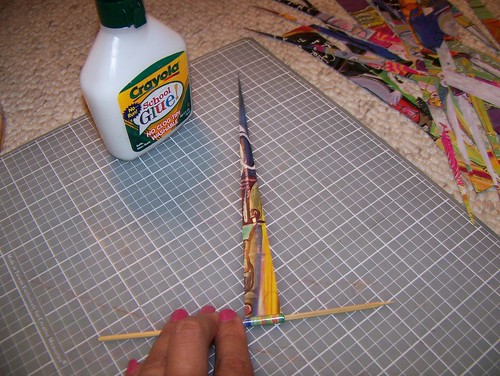 3. Lay the skewer near the bottom edge of the triangle strip. Fold the bottom edge of the triangle strip over the skewer and slowly roll the strip tightly around the skewer. Be careful to keep the strip centered as you roll. As you become better, it will be easier to keep the strip taught and centered by turning the bead between your thumb and index finger.
 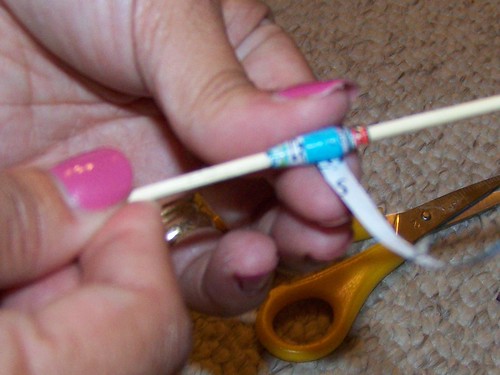 4. As you roll the bead, wipe away any excess glue with a Q-tip. Lightly dampen the Q-tip and remove any excess water before using the Q-tip to prevent any cotton from sticking to the bead.) This is an important step. Excess glue on the bead or on your hands dulls the color and appearance of the bead. For little ones, consider using a glue stick in step 3 so that you can skip step 4 altogether!
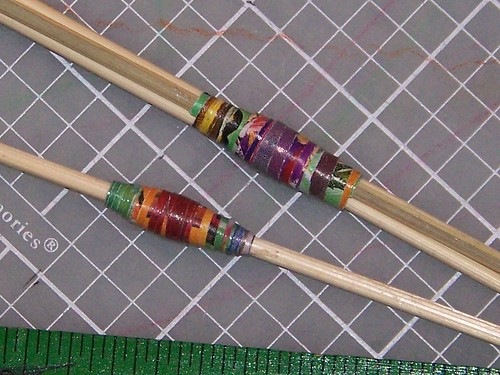 5. You can roll several beads on the same skewer, but make sure your hands and the skewer are free of any glue. You will need to use more than one skewer; the number of skewers depends upon the number of beads you want to make. For best results, allow the beads to dry for 15-30 minutes.
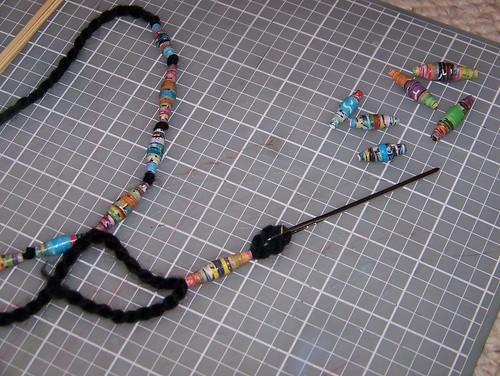 6. Once dry, carefully slide the beads from the skewers and string the beads onto string or yarn. If you are having difficulty stringing your beads, use a yarn needle. If desired, you can tie knots between the beads. Keep adding beads until you reach the desired length for the piece you are creating and tie the ends to finish! Your beads are ready to wear!
TIPS: You can increase the width of your bead by using thin pencils or dowels instead of skewers. To give your beads a more polished look, you can spray them with shellac or apply clear nail polish after the beads are dry but before you remove them from the skewers. Allow the shellac or nail polish to dry thoroughly. You can push the ends of the skewers into a styrofoam block so that they can stand on end while the beads dry.
Of course, this project can be made with any kind of paper. This is also a great way to use up remnant pieces of scrapbooking or other craft paper. You can also use paper that your kids paint or draw on. I sometimes use my daughter's old watercolors or my son's old marker drawings. They love the fact that their art gets to live on in a different way.
So long as an adult cuts all of the strips, this craft is perfect for kids. Consider it as an activity for kids' parties or mommy and me dates. It's a great takeaway for guests.
Great job. This is an OLD craft I used to do with our Grandmother. We made small beads which we made into many Rosaries when I was just a wee one not much older than Anna. It brings back memories of great times spent with Mama. Thanks for sharing this with others.
ReplyDelete